Adding a size chart to your store
Add a size guide to your storefront so shoppers buy the right fit the first time. In Crate the size chart is a builder section — set your columns and rows, and it's live.
Picking the wrong size is the number-one reason online shoppers hesitate — and the number-one cause of returns. A clear size chart fixes both: buyers see exactly how each size measures up and order with confidence.
In Crate, the size chart is a builder section — a block you add to your product page and style alongside the rest of your storefront. That means it lives in the same place you design everything else, with no separate settings screen to hunt for.
Before you start
Have your measurements ready: the headings you want across the top (Size, Chest, Waist, Hips — whatever fits your products) and the values for each size you stock. Decide whether you're working in inches or centimetres so the chart is consistent.
Building the chart
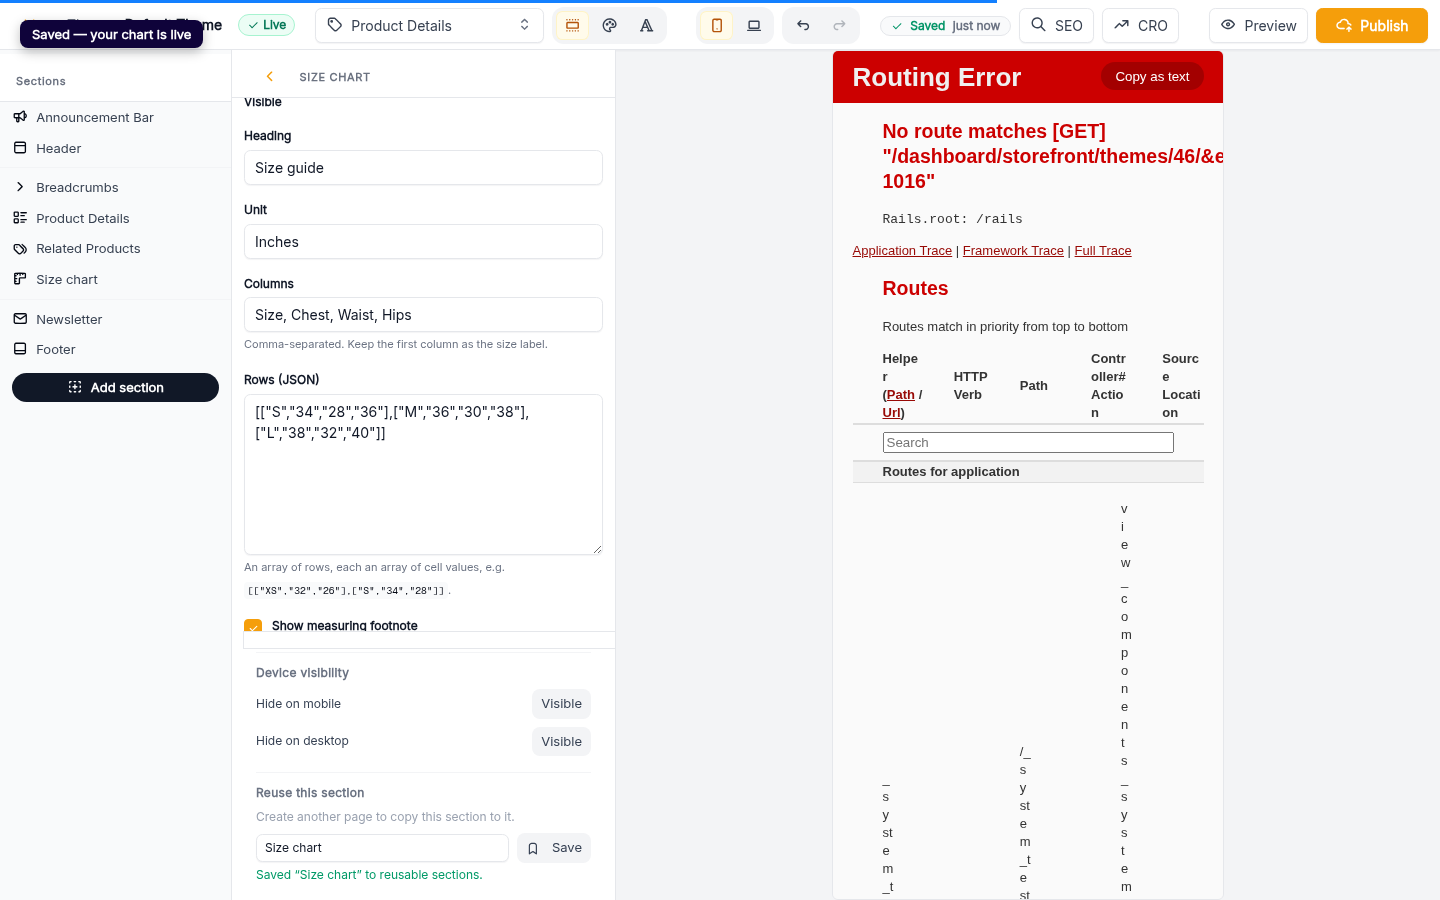
Opening the size chart drops you into the page builder with the Size chart section already selected. You set it up with two simple fields:
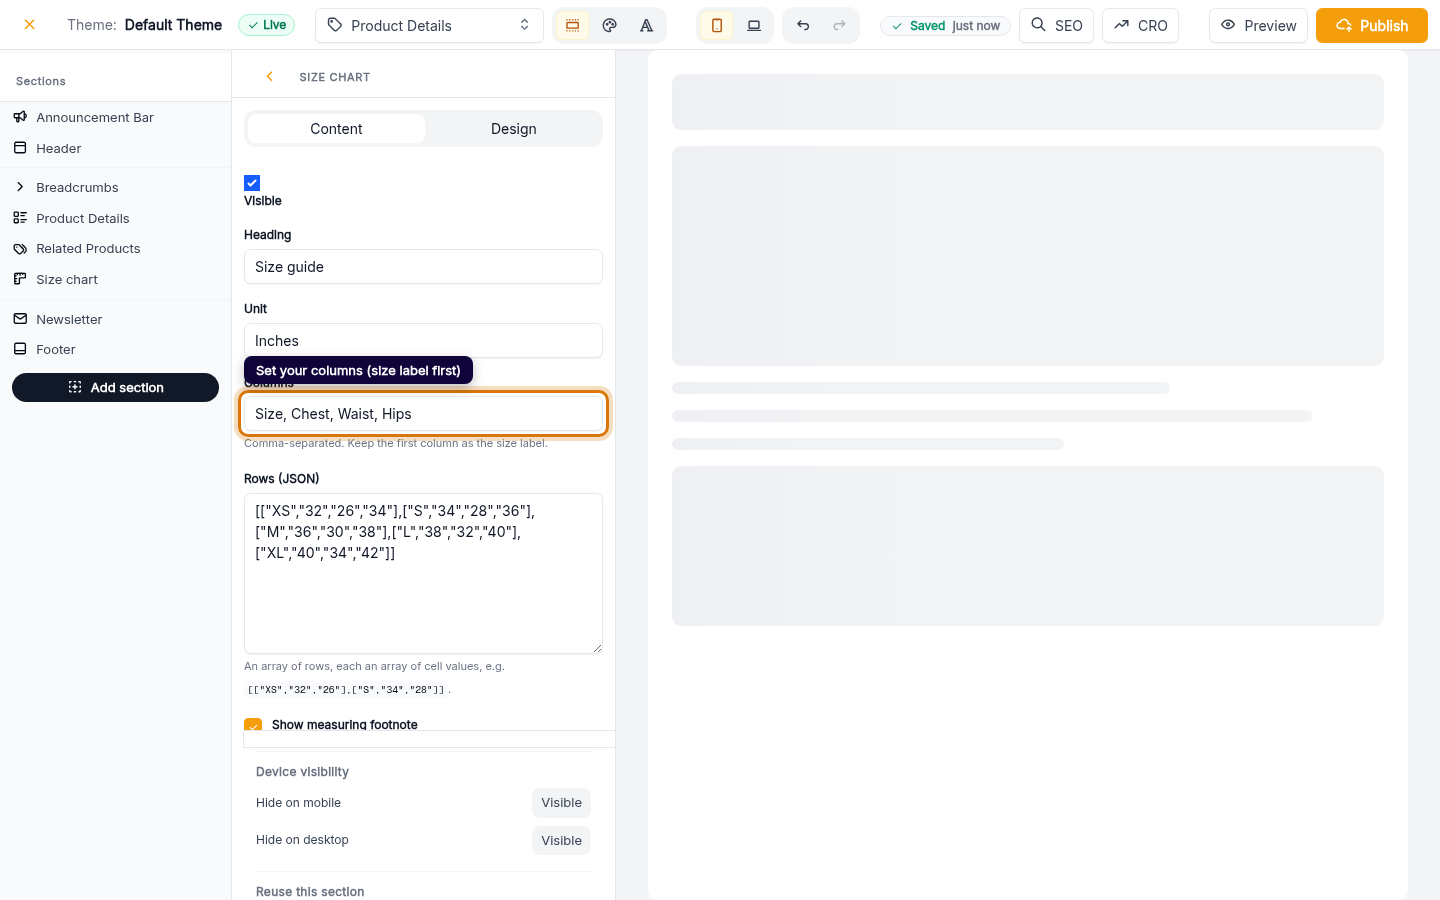
- Columns — your measurement headings, comma-separated, with the size label first.
- Rows — one entry per size, listing the value for each column in order.
Crate saves your changes automatically as you edit, so there's no separate publish step — refine the table and it updates live.
What shoppers see
Once saved, the chart renders on your product pages as a clean, readable table under the heading you chose. Buyers get a reliable reference right where they're deciding, which means fewer "what size am I?" messages for you and fewer avoidable returns.
Tip: Because the size chart is a builder section, you can drag it exactly where you want it on the product page and match it to your store's theme — just like any other section.
-
1
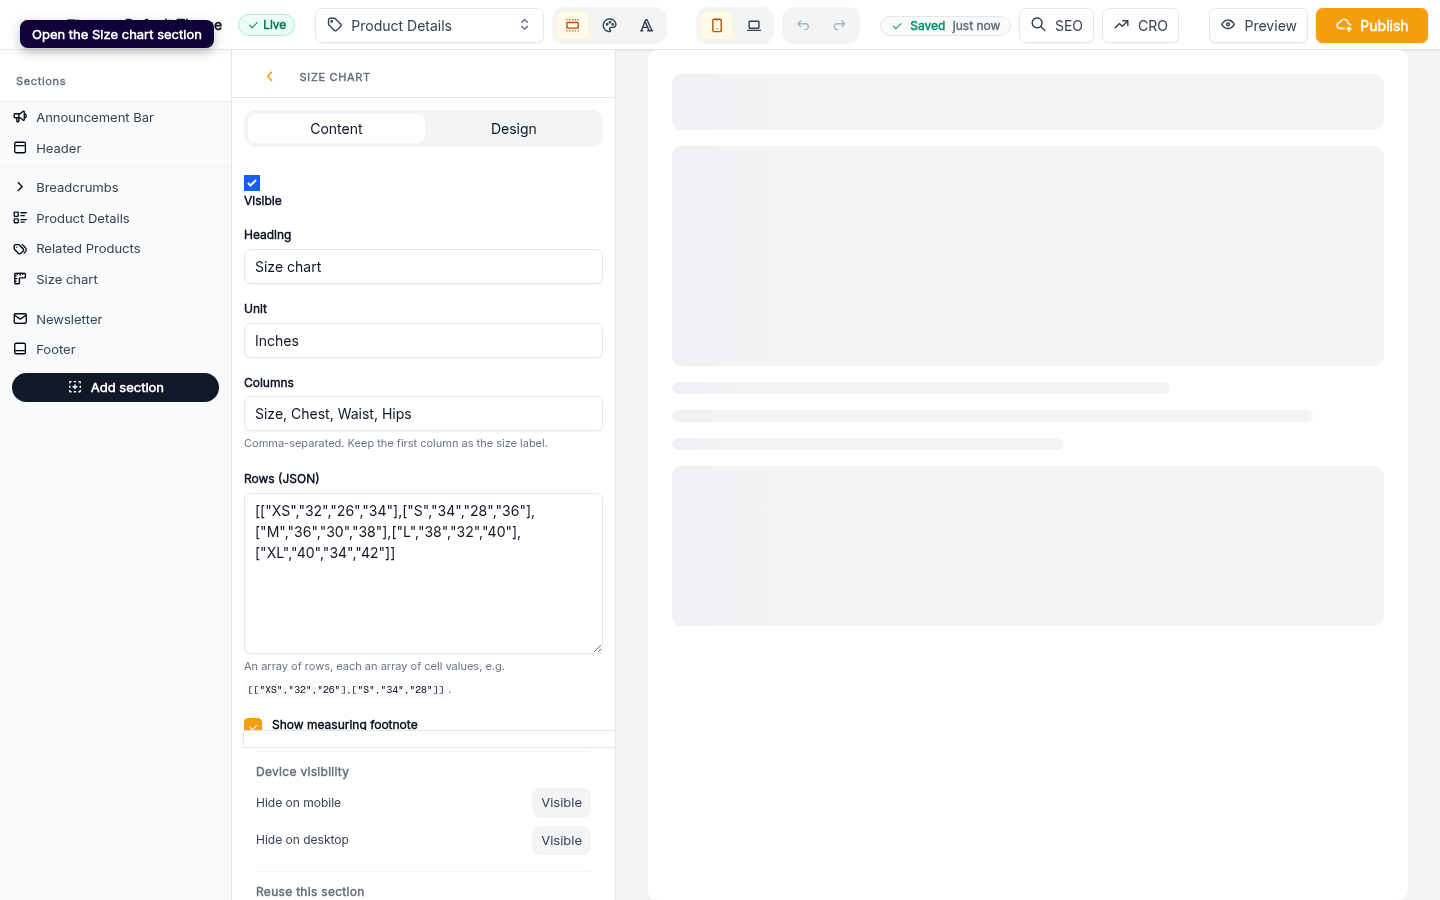
Open the size chart
From your storefront tools, open the Size chart. Crate takes you straight into the page builder with the Size chart section selected, ready to edit.
Web -
2
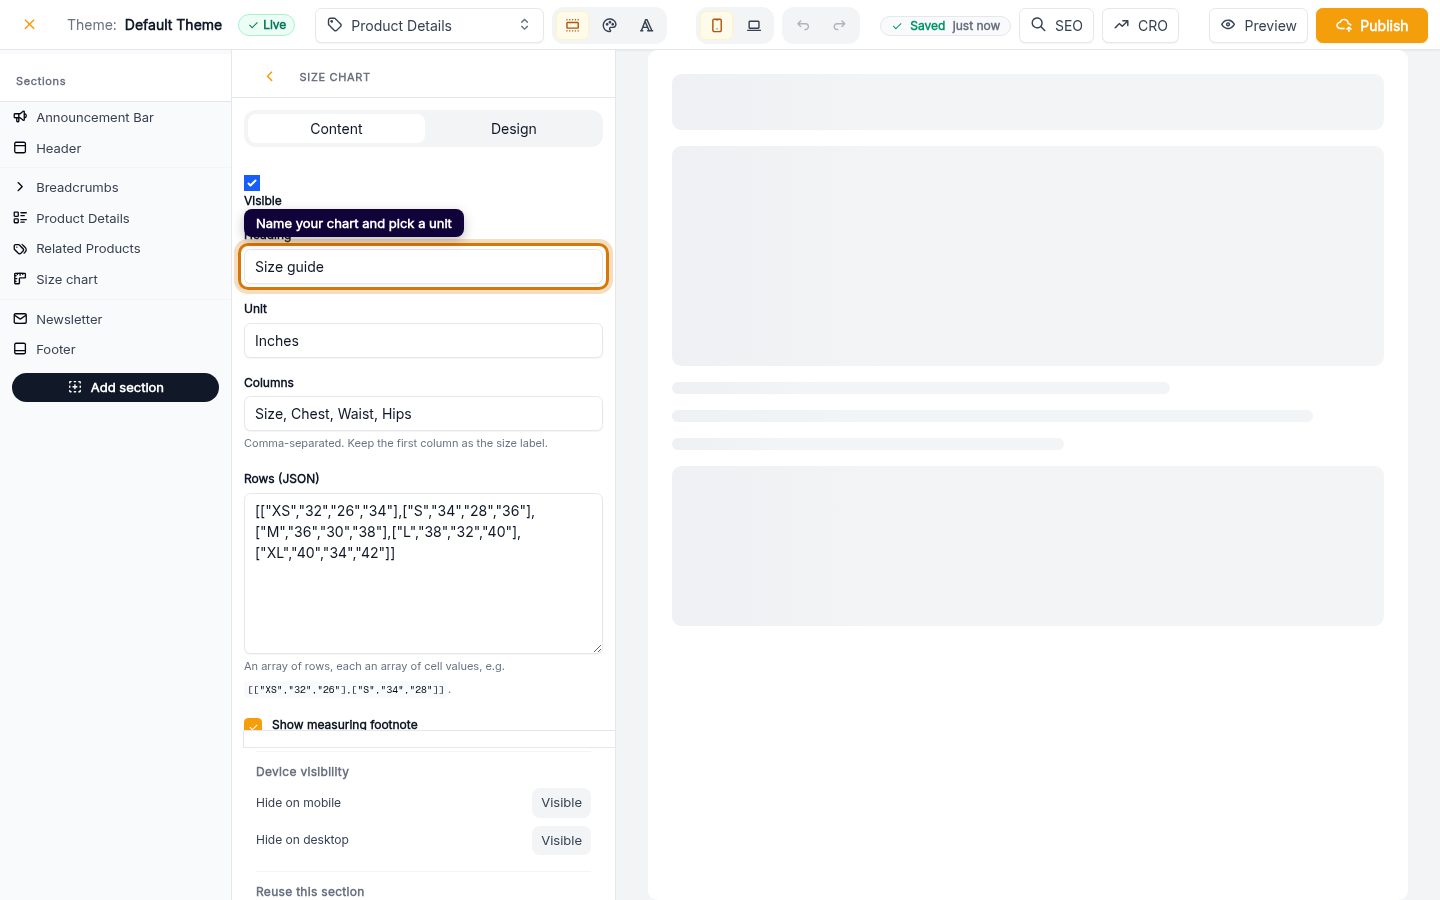
Name your chart and pick a unit
Set a Heading shoppers will recognise — Size chart works well — and choose your Unit, inches or centimetres, so measurements are unambiguous.
Web -
3
Set your columns
In Columns, list your measurements separated by commas — for example Size, Chest, Waist, Hips. Keep the first column as the size label. These become the headers of your chart.
Web -
4
Fill in the rows
In Rows, add one row per size — each a list of cell values matching your columns, like
[["S","34","28","36"],["M","36","30","38"]]. Add as many sizes as you stock.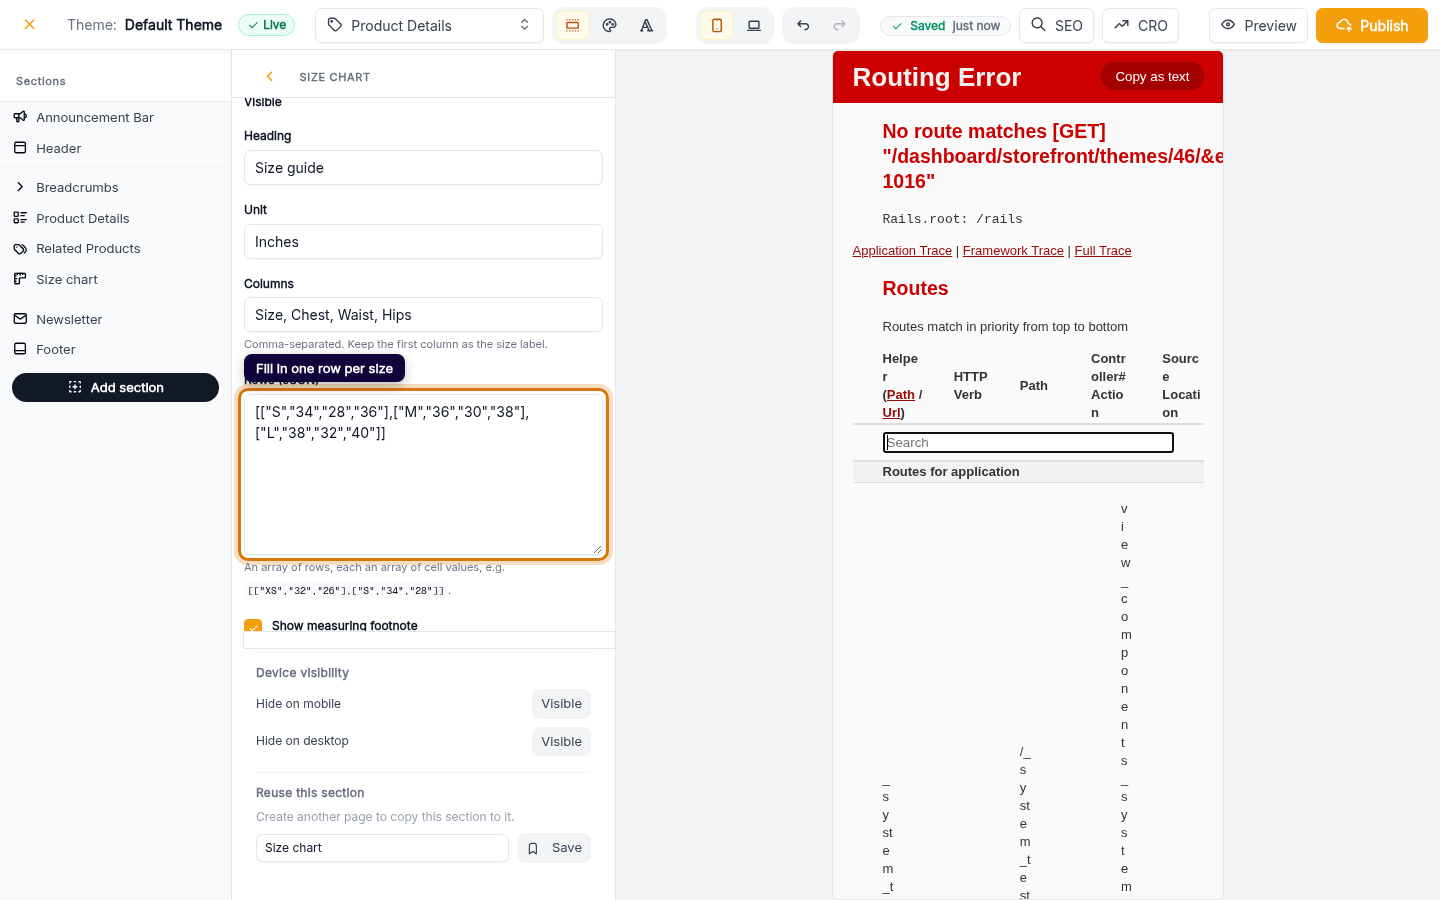
Web -
5
Save — your chart is live
Crate saves as you go and confirms with Saved. Your size chart now appears on the product page, so shoppers can check their fit before they add to cart.
Web